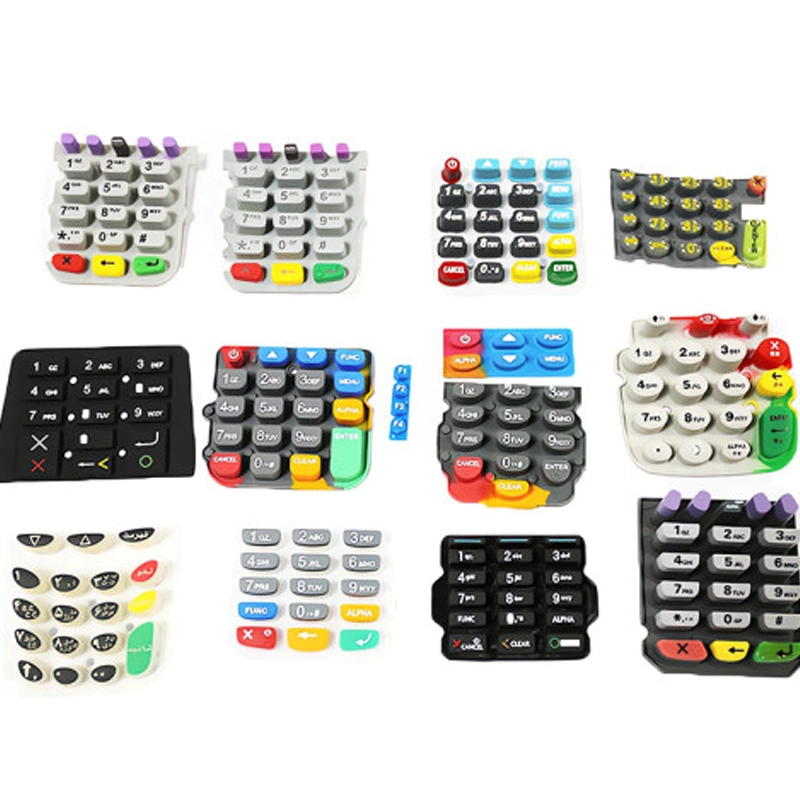
Rubber keypads for power-assist devices (aka silicone keyboards, silicone button pads) combine tactile ergonomics, backlighting, and durable legends in one thin, soft interface. The example you shared demonstrates a full, production-grade workflow that many OEMs demand: high-quality silicone formulation, precision molding, multi-layer color decoration with laser engraving, a PU protective finish, and strict QC at each step. Below I’ve rewritten and expanded that content into a professional, manufacturer-grade guide covering materials, processes, key process parameters, quality checks, and customization options — aimed at B2B buyers, product engineers, and procurement teams.
What Makes a Modern Silicone Keypad For Power-assist Devices
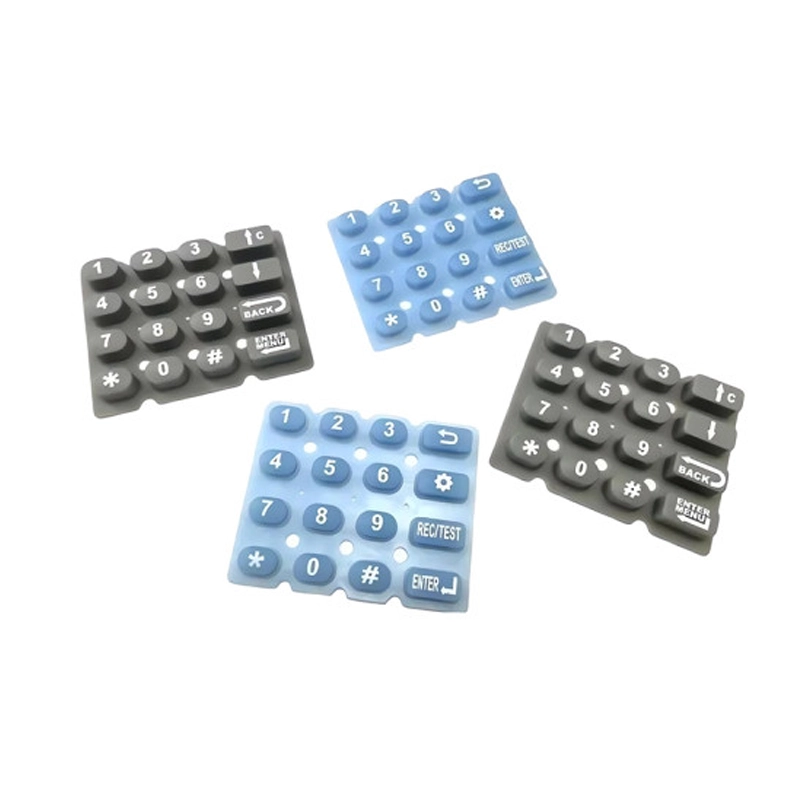
Silicone keypads used in power-assist systems must meet a mix of human factors (soft feel, low actuation force), durability (repeatable cycles, abrasion resistance), and functional design (backlight compatibility, multi-color legends, high-friction PU surfaces). The production sequence is straightforward but requires process control and traceability to deliver consistent parts across batches.
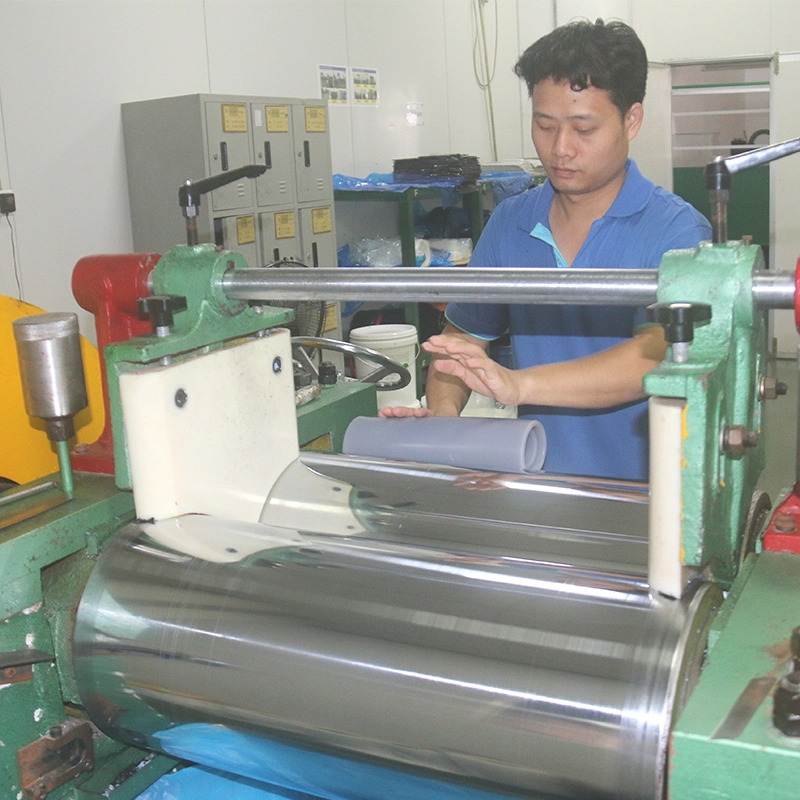
Materials & pre-processing
Compound selection and mixing
- Use a platinum-cured silicone compound for low extractables, excellent aging resistance, and stable durometer over time. Medical- or food-grade grades are common when skin contact or strict odor control is required.
- Pigments and paints are chosen to match Pantone specs and to withstand high-temperature molding and downstream laser processing. For backlit zones, use clear or translucent silicone formulations (refractive index and haze influence light diffusion).
- Mixing is typically done on a two-roll mill or high-shear planetary mixer to disperse pigments and integrate the vulcanizing agent uniformly. Sheets or preforms are produced for feeding into the mold.
Key parameters to control: batch lot traceability, viscosity, and cure kinetics (pot life & scorch time).
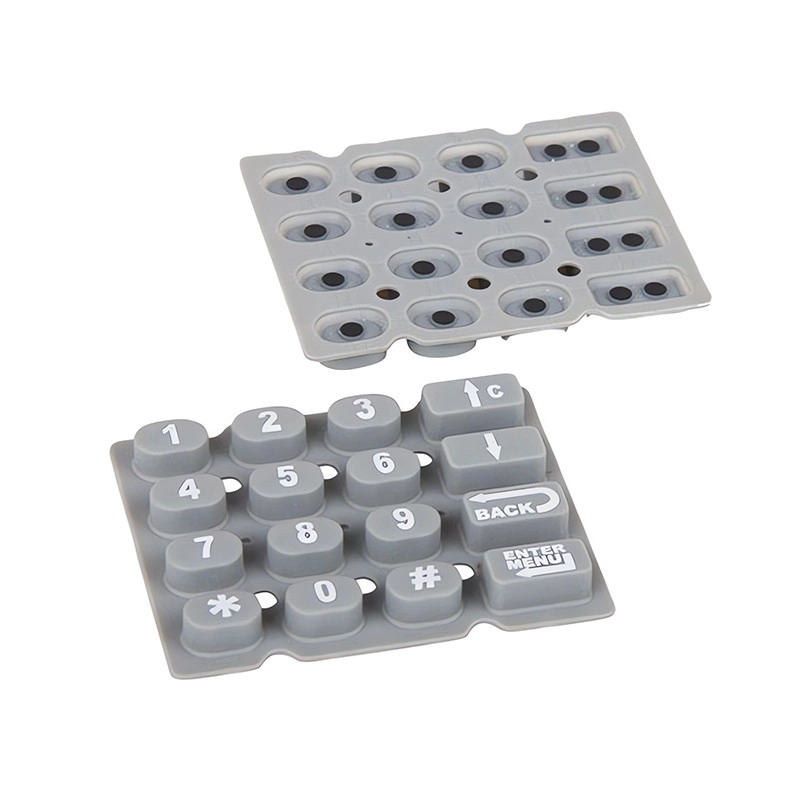
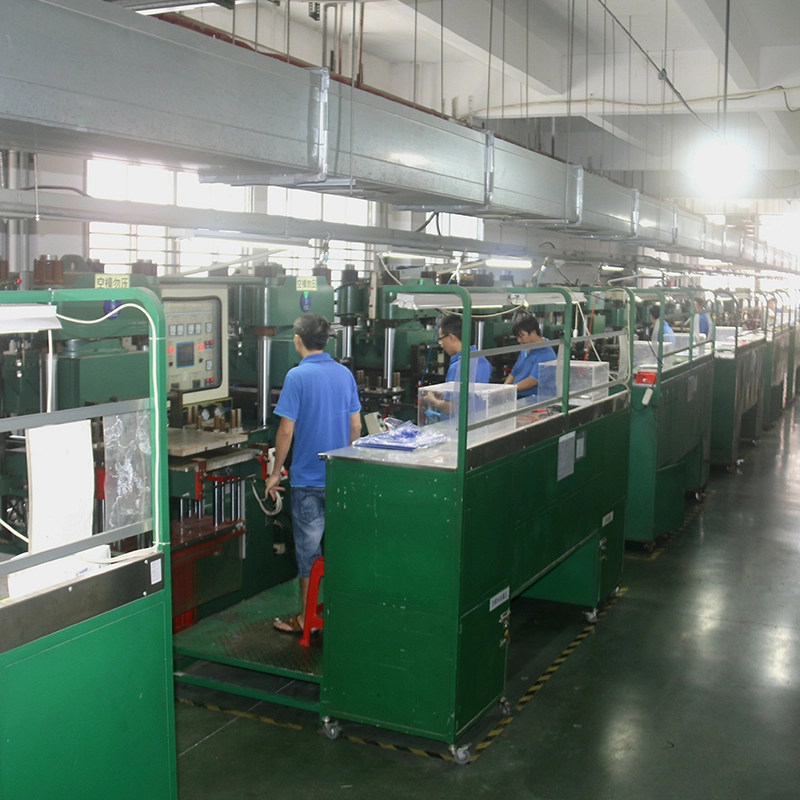
Molding: creating the keypad geometry
- Mold cavities are CNC-machined to micron tolerances; venting and runner design are optimized to avoid trapped air in backlight zones and to ensure uniform wall thickness. For thin skirted keys, micro-drafts and fine venting are critical.
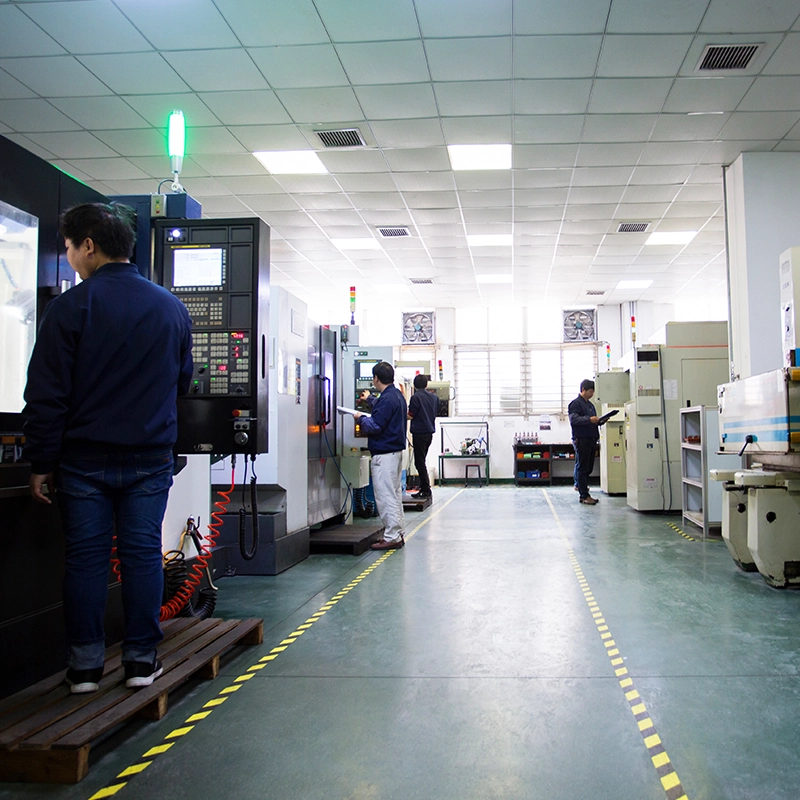
- Choice of molding method depends on volumes: compression/transfer molding for small runs; Liquid Silicone Rubber (LSR) injection molding for high-cavity, tight-tolerance production. Mold temperature control (±1–2°C) ensures consistent cure and surface finish.
Vulcanization (cure)
- Typical cure ranges (dependent on compound): 140–180°C with time adjusted for wall thickness; LSR systems use precise shot control and automated demolding to preserve slit edges and thin rims.
- Proper cure eliminates tack and minimizes post-cure shrinkage that could distort legends or backlight transmissivity.
Post-mold trimming and quality inspection
Deflash & visual inspection
- Automated trimming stations or precision hand-trim followed by automated vision inspection remove flash while protecting sealing areas and slit edges.
- Critical checks at this stage: key height, skirt thickness, slit opening geometry (if present), and general cosmetic defects.
Mechanical testing
- Sample pull/tensile, hardness (Shore A), compression set, and cycle life tests (repeat actuation cycles to spec) should be performed and recorded per lot.

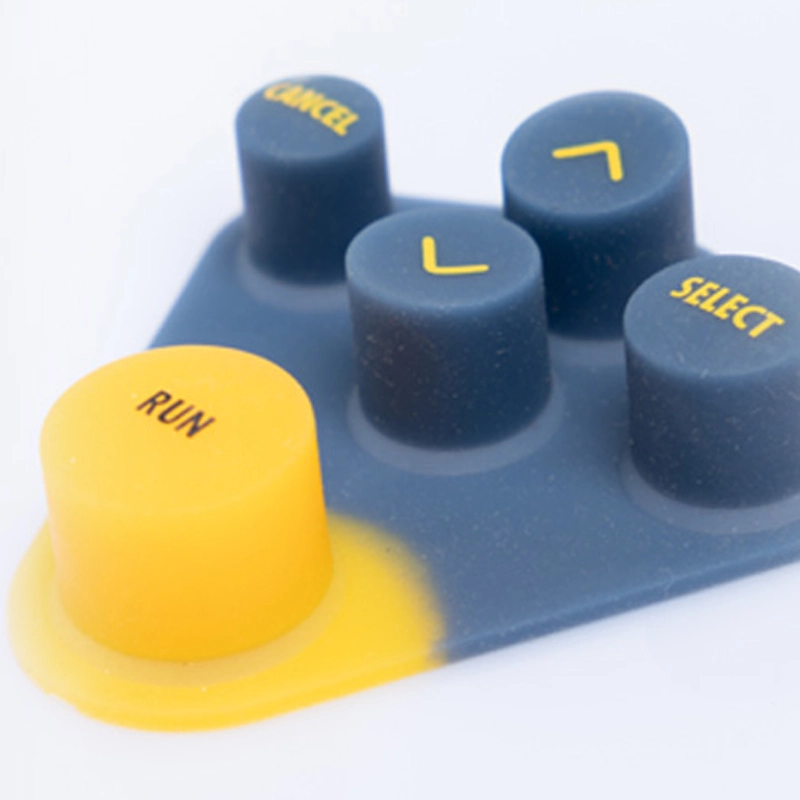
Multi-layer color decoration and laser engraving
Creating multi-color legends and backlit icons is a multi-step process that yields professional, durable artwork.
Spray / pad printing of color layers
- Multiple layers of ink (or sprayed color) are applied in sequence, typically using UV-curable or heat-curable inks engineered for adhesion to silicone. In your example three color layers were used (bottom = white for icons, middle = orange for shading, top = black).
- Each layer must be fully cured or baked before applying the next to avoid bleed or interlayer delamination.
Laser engraving (selective ablation)
- A laser selectively ablates the top color layers to reveal underlying colors and create multi-color symbols. Common lasers: fiber or pulsed CO₂ lasers depending on pigments and coating absorptivity.
- Laser parameters (power, pulse, frequency, speed, spot size) are tuned so engraving removes coating cleanly without damaging the silicone substrate or causing thermal discoloration.
- Typical results enable crisp, multi-tone icons (e.g., arrows, battery indicator) and selective exposure of the white base layer for high contrast.
Advantages
- Extremely precise legends, micro-text, and anti-counterfeit or serialized marks are possible.
- No physical stencil for each legend variant — faster SKU changes.
PU coating: tactile finish and protection
Why PU?
- A thin polyurethane (PU) topcoat adds a higher-friction surface (useful for grip), improves abrasion resistance, and enhances perceived quality (matte, tactile “rubberized” finish).
- PU also provides a protective barrier against wear from finger oils and cleaning agents.
Application & curing
- PU is typically spray-applied in controlled booths and then cured (UV or thermal) to form a uniform film. Film thickness and adhesion must be qualified to prevent cracking at key flex points.
QC for PU
- Abrasion resistance (Taber test), adhesion (cross-cut or peel), and friction coefficient measurements validate longevity.

Final inspection, functional testing & packaging
Backlight performance
- Test luminous uniformity, symbol legibility at typical viewing distances/angles, and light leakage into unwanted areas. For translucent zones, measure lux and color temperature consistency.
Electrical & environmental tests
- If keypads integrate LEDs or conductors, perform continuity, solder quality, and EMC checks. Environmental tests include thermal cycling, humidity exposure, and chemical resistance to cleaning fluids.
Packaging
- Final QA with lot numbers, CoAs for silicone compound, and assembly instructions for integrators. For cleanroom or medical applications, tape/seal packaging and sterile handling can be arranged.
Design and manufacturing best practices (DFM tips)
- Avoid extreme thin sections in areas that will flex frequently; they accelerate compression set.
- Add ribs or reinforcement bosses where inserts or fasteners interface.
- Plan backlight zones early: balance translucency (for light) versus opacity (for topcoat adhesion and contrast).
- Specify slit geometry and tolerances if the keypad contains valve-like features — laser trimming can tighten tolerances but increases cost.
- Select inks and coatings tested for adhesion to silicone (special primers or plasma treatments sometimes required).
Customization & one-stop service
As a full-service supplier, Flykeyboard offers:
- material selection and certification,
- prototyping (soft tool and rapid LSR samples),
- precision molding (LSR/LIM),
- multi-stage decoration (ink PHOTOCURE/thermal cure, laser engraving),
- PU coating, assembly and final testing,
- packaging and logistics.
This integrated workflow reduces handoffs, shortens lead times, and maintains traceability from raw material to finished keypad.
Common failure modes & how we prevent them
- Legend fade or delamination: controlled ink chemistry + proper cure and PU adhesion testing.
- Excess flash at sealing surfaces: precision tooling and automated deflash with vision inspection.
- Inconsistent backlight: tight control of silicone translucency, LED module placement, and optical diffusers.
- Early compression set: correct durometer selection and validated cure schedules reduce permanent deformation.
Closing & next steps
High-quality rubber keypads for power-assist devices require end-to-end expertise: materials science, tight molding control, precise multi-layer decoration, and robust QA. By merging those capabilities into a single supplier workflow, OEMs reduce project risk and accelerate time to production.
If you’re evaluating keypad options or need a turnkey supplier for custom silicone rubber keypads, silicone keyboards, or overmolded button pads, our factory can support design review, prototyping, and volume manufacturing. Contact us to request samples, review technical drawings, or start a feasibility study — we’ll walk you through material options, tooling timelines, and cost estimates so you can specify the best keypad for your power-assist device.