At Flykeyboard, we understand that designing a high-quality silicone rubber keyboard involves careful consideration of multiple factors. Whether you’re creating a tactile keypad for industrial applications or a custom silicone keyboard for consumer electronics, achieving the right balance between usability, durability, and performance is essential. In this guide, we’ll walk you through the key aspects of silicone rubber keyboard design, including material selection, tactile performance, and manufacturing processes.
Key Factors to Consider in Silicone Rubber Keyboard Design
When designing a silicone keyboard, the primary goal is to ensure a reliable and comfortable user experience. The most important factors that influence the tactile performance of silicone rubber buttons are:
- Operating Force: This is the amount of force required to press a key. It impacts the feel of the silicone keyboard, influencing whether the keys feel soft or stiff under the user’s finger.
- Actuation Force: This is the minimum force needed to register a key press. The actuation force needs to be precise to ensure that the keyboard responds to even light touches without triggering accidental presses.
- Travel Distance: Travel distance refers to the depth the key moves when pressed. A standard silicone key typically has a travel distance of about 1.2mm. This ensures a good tactile feedback without being too soft or too stiff.
A good tactile silicone rubber button typically combines a 1.2mm travel distance with an actuation force of 19g, ensuring ease of use while maintaining durability.
Understanding Silicone Rubber Material Selection
The material used for your silicone keyboard is just as important as its design. Silicone rubber is highly flexible and durable, making it an ideal choice for custom keypads that need to withstand extensive use. The hardness of the silicone plays a key role in how the keys will feel and perform.
– Silicone Hardness: Common silicone hardness levels range from 40 Shore A to 80 Shore A. The higher the hardness, the more rigid the silicone keyboard will feel. While harder silicone typically provides a better tactile response, it may also affect the longevity of the silicone keypads, as higher hardness can lead to faster wear over time. On the other hand, softer silicone (lower Shore A values) offers a more comfortable, cushion-like feel but may result in key sticking and poor performance.
– Optimal Hardness: To strike the right balance, 60-65 Shore A is often the preferred hardness for silicone rubber keypads. It ensures a good tactile response without compromising durability or ease of use.
The Design and Manufacturing Process for Silicone Keyboards
Creating a custom silicone rubber keyboard involves several steps, each requiring precise attention to detail. Below is an overview of the typical process used to manufacture a high-quality silicone rubber keyboard:
-
Initial Design & Prototyping:
The first step in creating a silicone keyboard is to develop the design. This includes determining the layout, size, and shape of the keys, as well as any legends or markings needed. If backlit functionality is required, this is also integrated into the design at this stage.
Design can be presented in various formats such as 2D/3D drawings, and once the initial design is agreed upon, prototypes are made to validate the layout and functionality of the keyboard.
-
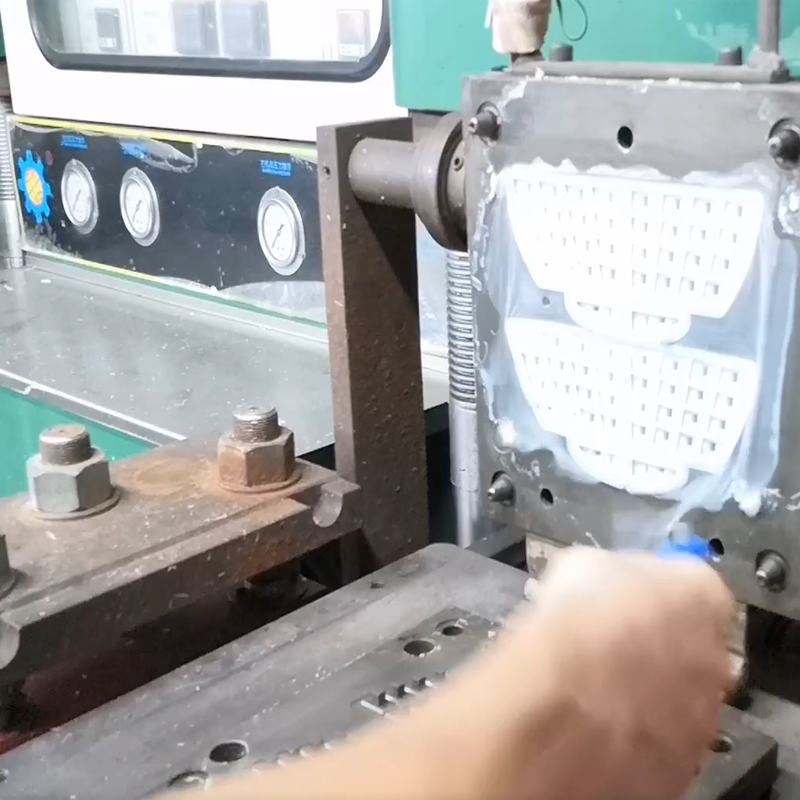
Mold Creation:
Once the design is finalized, a mold is created for the silicone keypad. This mold determines the shape of the keys and the layout of the keyboard. The mold is crafted to ensure precise key placement and consistent pressure distribution across all keys.
-
Material Preparation:
The silicone material used for the keyboard is mixed with a vulcanizing agent, which helps in the curing process, making the material durable and resilient. This mixture is then poured into the mold for shaping.
In this stage, the silicone material is placed into the mold and subjected to high heat and pressure. The molding process shapes the silicone into its final form, ensuring that the keys have the correct travel distance and tactile response.
-
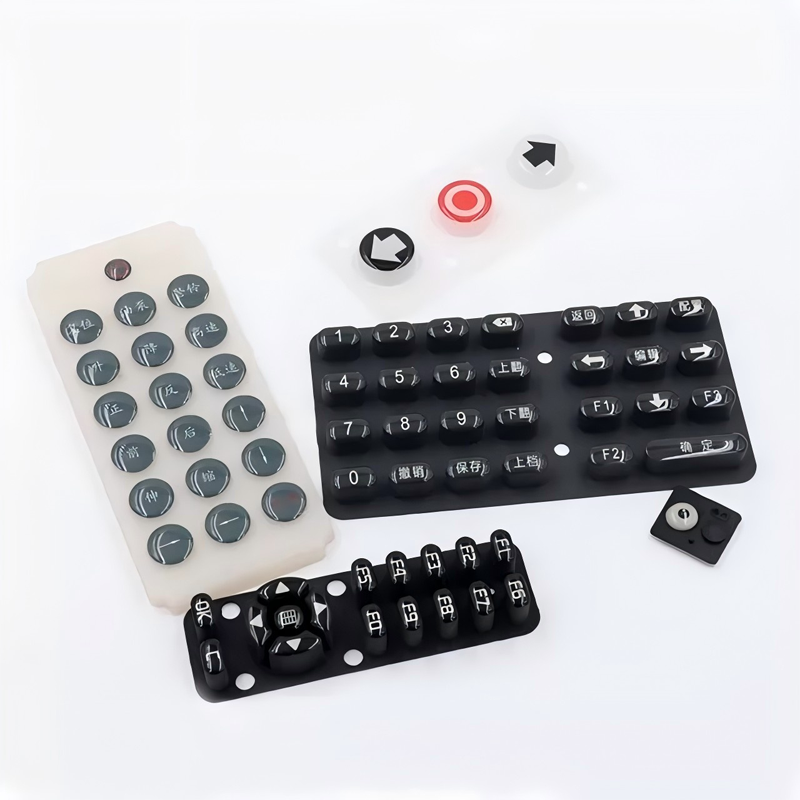
Screen Printing or Laser Etching:
After molding, the next step is to apply any necessary markings or legends on the keys. For backlit keyboards, laser etching is used to engrave the legends, allowing light to pass through. If the keyboard is non-backlit, silkscreen printing is typically used to apply color graphics and labels to the surface of the keys.
-
Surface Coating:
The silicone keys may require a protective coating to improve their durability and tactile feel. There are several options for surface coatings:
– PU Coating: Provides a smooth, glossy finish and additional protection.
– Epoxy Coating: Adds a tough, scratch-resistant surface that improves the keyboard’s longevity.
– Matt Smooth Coating: A soft-touch finish that enhances the feel of the keys and prevents slipping.
Silicone coating is also an option, which helps to maintain the softness of the keys while providing a protective layer that prevents dirt accumulation.
-
Electrical Contact Integration:
If the silicone rubber keyboard needs to be conductive, there are several options for integrating electrical contacts:
– Conductive Ink Printing: Used to create electrical pathways on the silicone surface.
– Carbon Pills: Small carbon-based components used for creating conductive areas within the keypad.
– Metal Domes or Metal Pills: These are placed under the keys to create a tactile response and to ensure proper contact when the keys are pressed.
-
Testing and Quality Control:
After assembly, each silicone keyboard undergoes a series of quality tests. These tests include:
– Functional Testing: Ensures that each key registers properly when pressed.
– Dimensional Testing: Verifies that all keys are correctly aligned and meet the required specifications.
– Environmental Testing: Ensures that the keyboard performs well under different conditions such as extreme temperatures or humidity.
Each keyboard is thoroughly inspected to ensure it meets strict quality standards before being shipped to the customer.
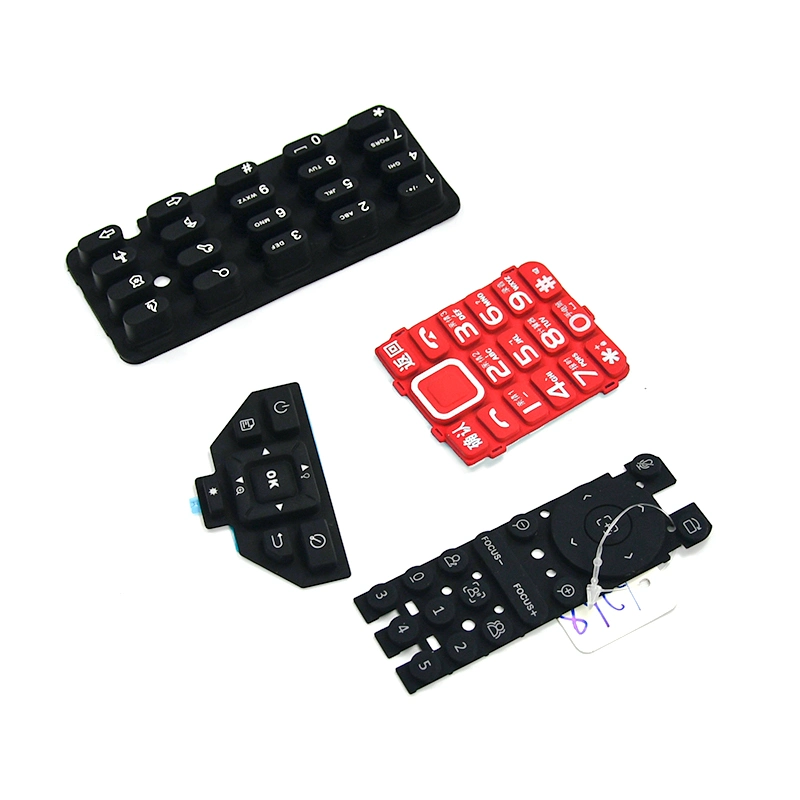
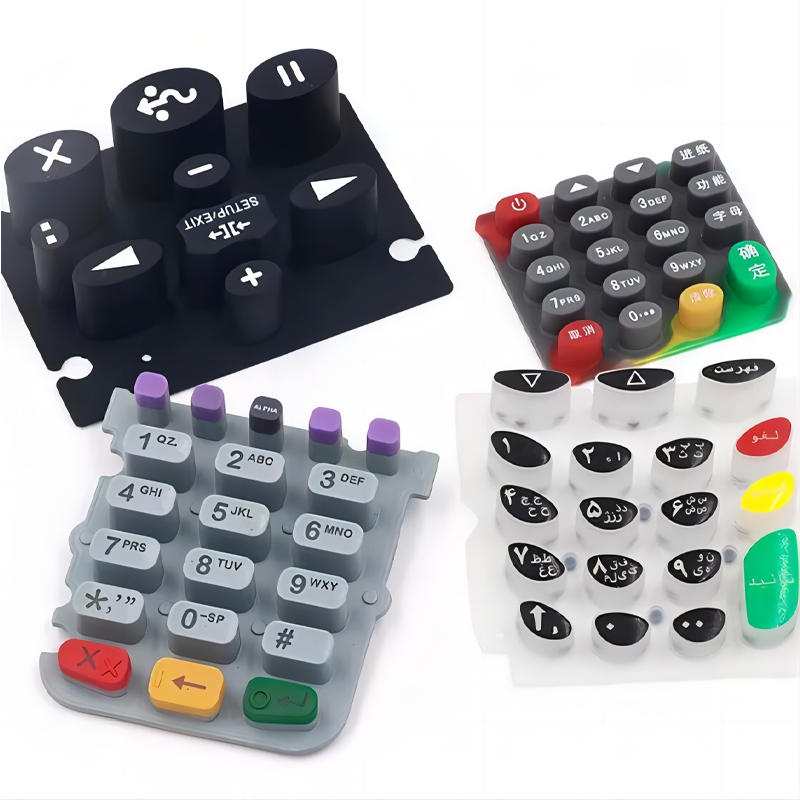
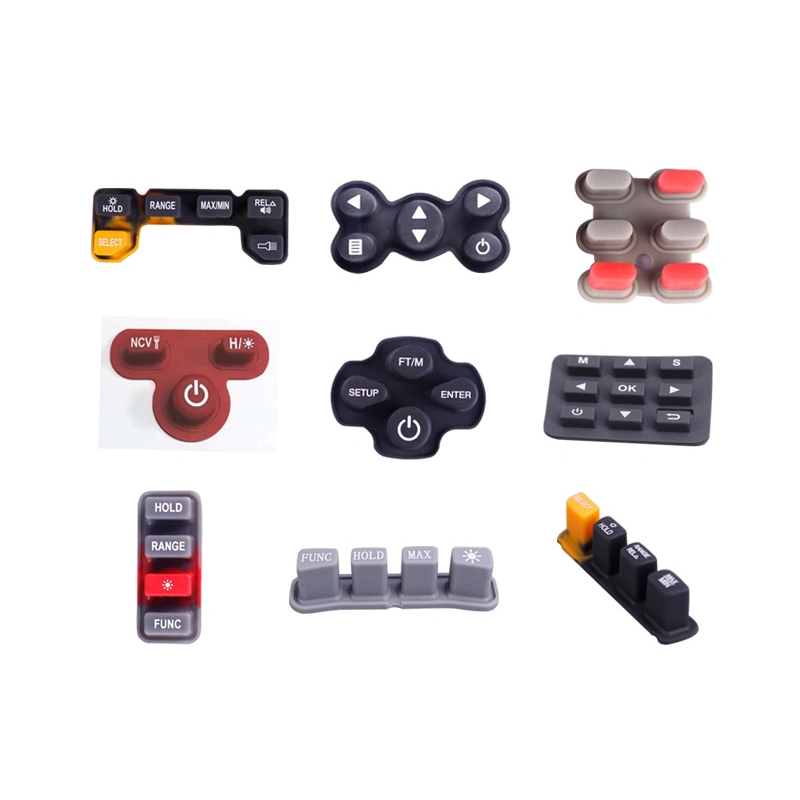
Customization Options for Silicone Rubber Keyboards
At Flykeyboard, we offer a wide range of customization options to meet your specific needs. Our customization services include:
– Keypad Layout & Design: We can accommodate any key layout, including custom sizes and shapes.
– Color & Surface Coating: Choose from a variety of colors and surface coatings, including matte, glossy, or soft-touch finishes.
– Electrical Contact Methods: We offer options for conductive ink printing, carbon pills, or metal domes depending on your specific requirements.
Conclusion
Designing a custom silicone rubber keyboard requires a deep understanding of both material properties and the manufacturing process. By considering key factors such as operating force, actuation force, travel distance, and material hardness, you can create a silicone keyboard that offers both high performance and long-term durability. At Flykeyboard, we are committed to delivering high-quality, custom silicone keyboards that meet the exact specifications of our clients. From initial design to final testing, our expertise and state-of-the-art manufacturing processes ensure that your silicone keyboard will perform to the highest standards. Whether you need a tactile keypad for industrial use or a custom silicone keyboard for consumer electronics, we are here to help bring your vision to life.